Quick Start Guide to Using the Divi Theme Builder
In this tutorial, I’ll be showing you a quick start guide to using the Divi Theme Builder. It’s super-simple and shouldn’t take more than 5 minutes.
You can proceed with the step-by-step below (assuming you have a beginning understanding of Divi) and/or you can watch the YouTube video here: https://youtu.be/FhFUsZ8s1CE.
You can view the finished tutorial here: https://goquik.com/wordpress-divi-tutorials/quick-start-guide-to-using-the-divi-theme-builder/
And you can download the json file to import into Divi here: QuickStartGuidetoUsingtheDiviThemeBuilder.json
If you have any questions at the end, use the comments here or on YouTube!
Step 1
Start a new page with a single-column row. In the single column, add a text module. You can leave the dummy text for now. Close that up and save the page, remembering the name.
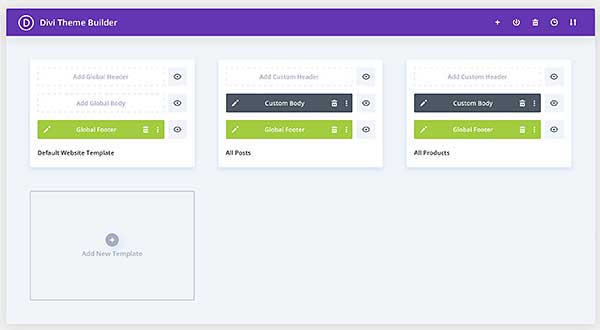
Switch over the Divi Theme Builder, under Divi / Theme Builder in the lefthand WordPress menu. You should see something like the image below, probably with just one blank template box, that states “Add New Template”.
Step 1 cont.
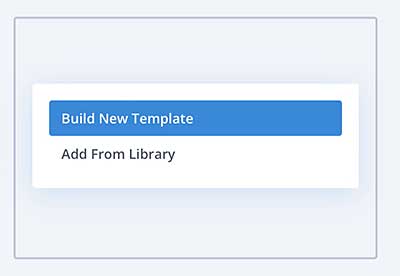
In the “Add New Template” box, click the gray circle with the + and then select “Build New Template.”
Step 1 cont.
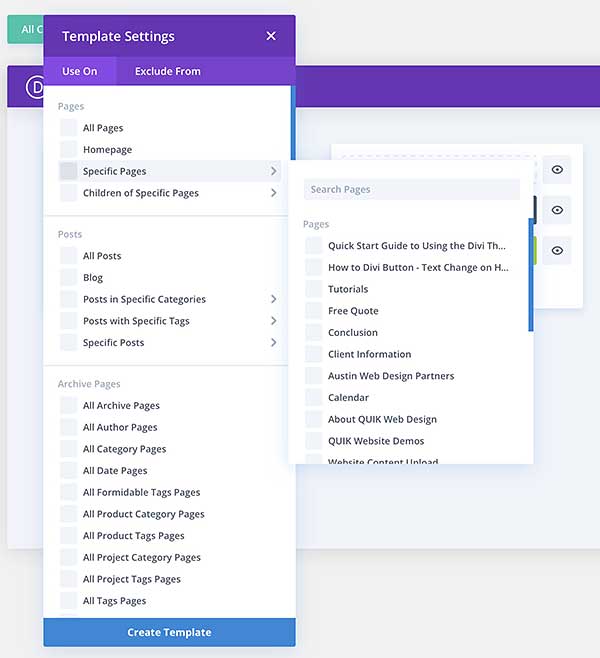
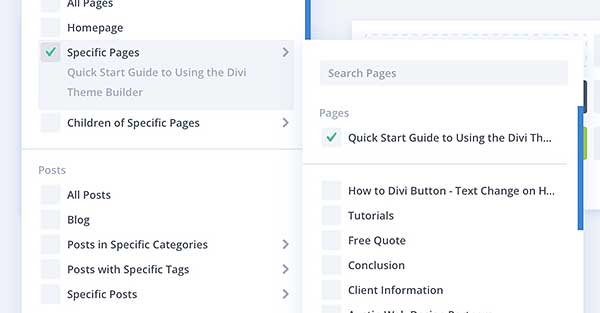
Next, hover your mouse over “Specific Pages,” then select the new page you just saved and click the blue “Create Template” bar at the bottom, as shown in the next two images below.
Step 1 cont.
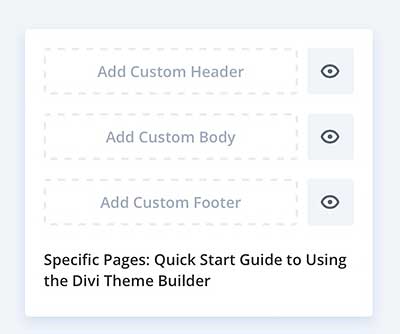
You should now see a new Template, just for your specific page, like the below image.
Step 2
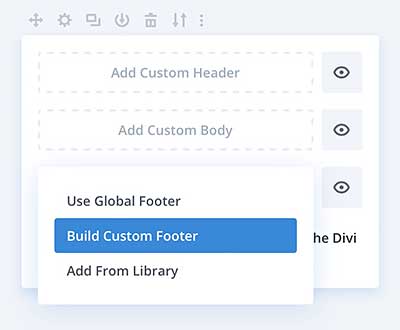
Click the block that says “Add Custom Footer” and then select “Build Custom Footer”
Step 2 cont.
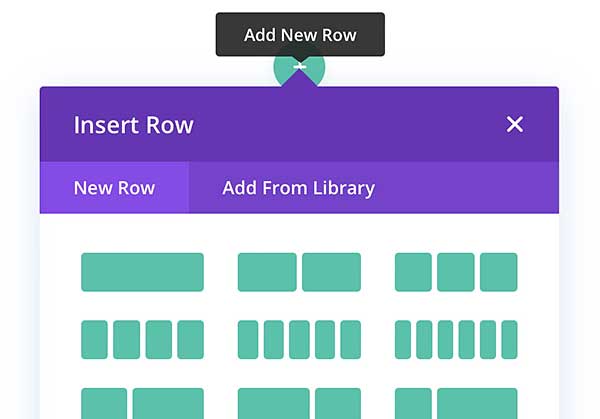
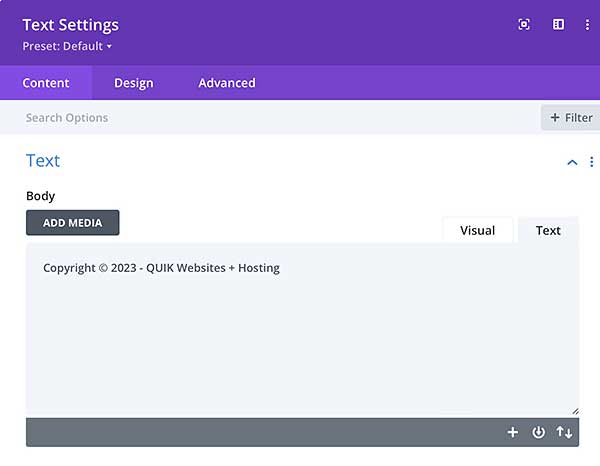
Next, add a single column row, and then a Text module, as shown in the next two images. Type whatever you want in there for the Copyright text for now.
Step 2 cont.
While we’re here, let’s go ahead and center the text. Go over to the Design tab, and click the centered option under “Text Alignment.” Go ahead and close that up and hit save (just in case).

Step 3
Now let’s open the Section Settings (the blue bar), and set a light gray background for the footer. I use #f1f1f1 a lot for things like this.
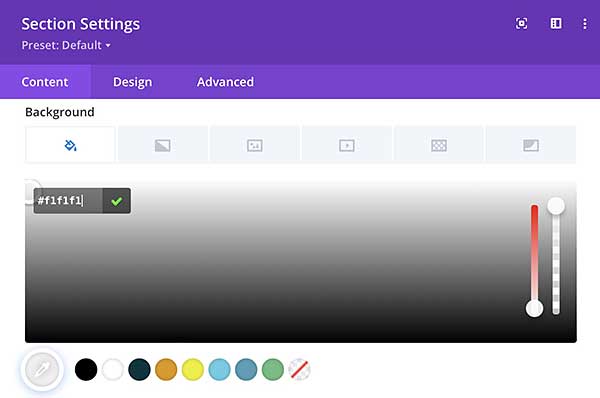
Step 3 cont.
Also in the Section Settings, let’s change the Padding so that we have a thinner footer. Just make the Top and Bottom Padding both 0px, like the image below.
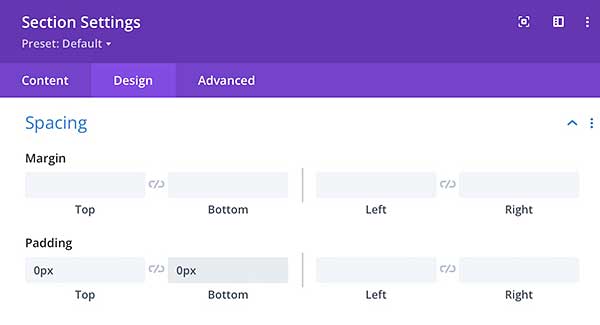
Step 3 cont.
Save and close the Section Settings box, and you should see something like the image below. Save it, then click that X in the top right corner to back out to the main Theme Builder page.

Step 4
Almost done! This last step is IMPORTANT, so pay attention kids. You have to click the gree “Save Changes” button for the template to take effect. Do that now, and we’re good to go!
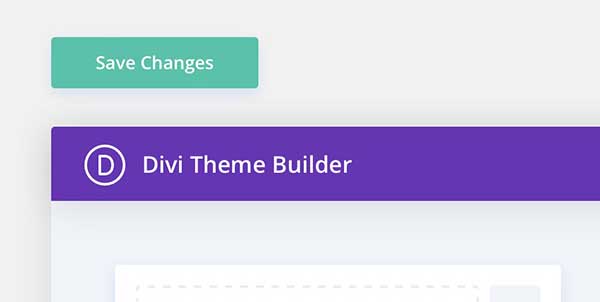
Step 5
Switch back to the page you initially set up in Step 1 and refresh the page. You should see your custom footer from the Theme Builder on that page (and only that page) now. And there you have it, quick and easy. Hope that it worked right for you, and if you have any troubles, just comment below!
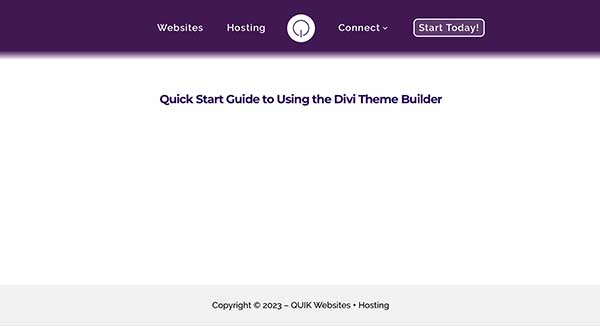

0 Comments