Divi Button – Text Change on Hover
You can proceed with the step-by-step below (assuming you have a beginning understanding of Divi) or you can watch the YouTube video here: https://youtu.be/O7oN1IK395s.
You can view the finished tutorial here: https://goquik.com/wordpress-divi-tutorials/how-to-divi-button-text-change-on-hover/
And you can download the json file to import into Divi here: How to Divi Button – Text Change on Hover.json
If you have any questions at the end use the comments here or on YouTube!
Step 1
Start a new page with a single-column row with a dark-colored background. Doesn’t really matter the color, but I used #2d0042 if you want to do the same.
In the single column, add a text module, with the text set to light, centered, and bold.
At this point, you should have something like the below (minus the title, of course).

Let’s edit the “button” (the text module) to change the text on hover.
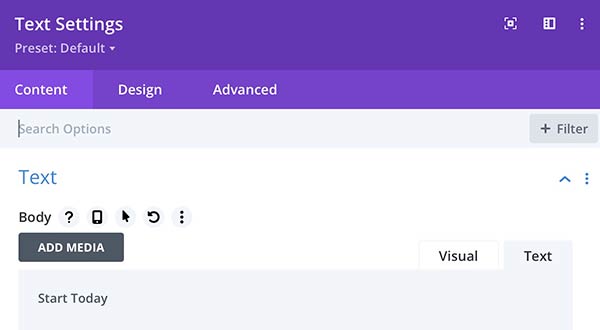
Click the gear to change the text module then click on the “Content” tab if it’s not already there.
Next, click the hover icon (you can get to it by hovering your mouse over the text “Body” as shown in the image below.
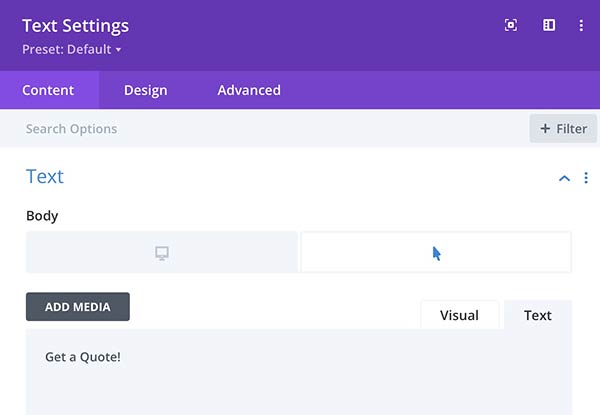
Once you see the hover icon, click it, then click the same tab/icon to change the text to “Get a Quote!”, as shown below.
Step 2 cont.
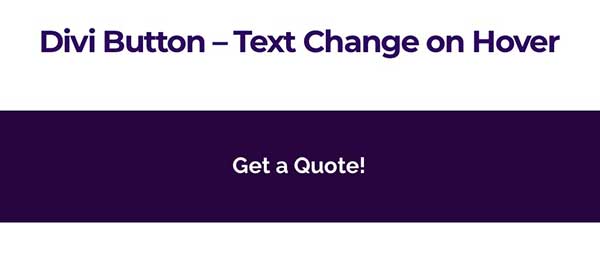
Let’s save our progress and switch out of the visual builder to check our work. You should see the “Get a Quote!” text when you hover your mouse over the “Start Today” button/text!
Step 3
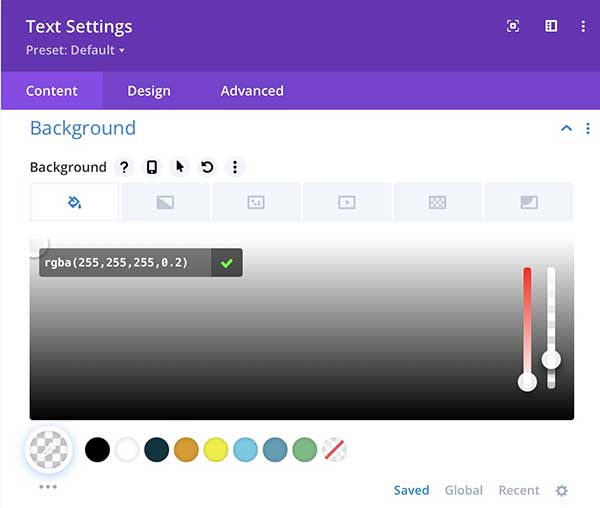
Okay. Let’s make it look like a button now, by adding a border, background color, and box-shadow. Start by opening the Text module settings and in the Content tab, click on Background. Set it to #ffffff at 20% opacity, like the image below.
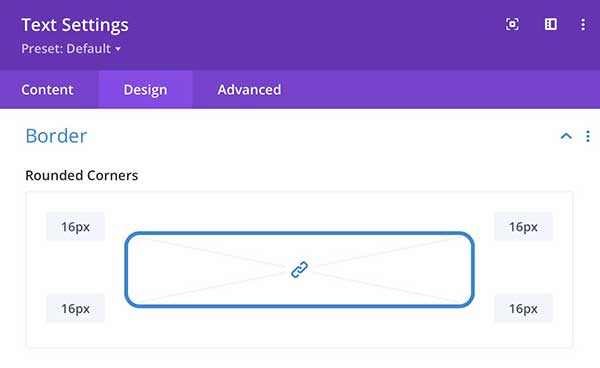
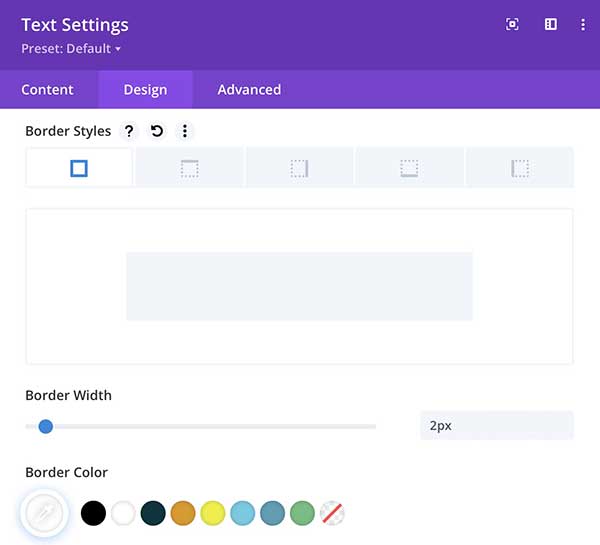
Next, click on the Design tab and then click Border. Set the border’s Rounded Corners to a 16px radius, with a 2px white stroke, like the two images below.
Step 3 cont.
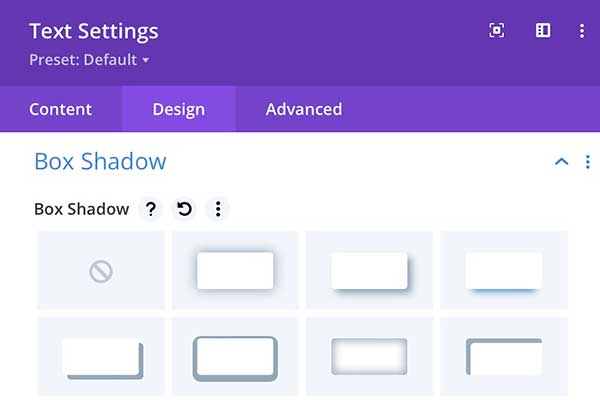
Now click on Box Shadow and pick a shadow style. I prefer the one that drops straight down for buttons, like the image below. You can leave the rest of the shadow settings as they are.
Step 3 cont.
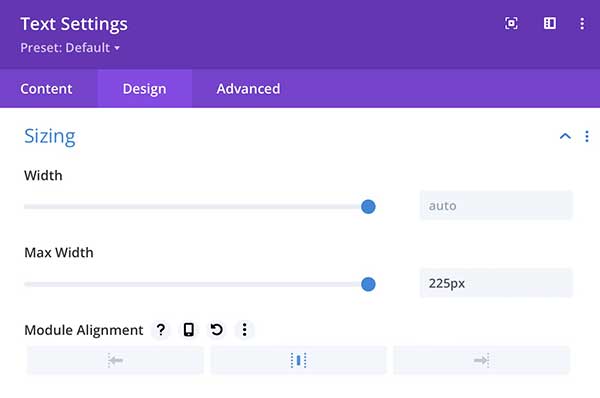
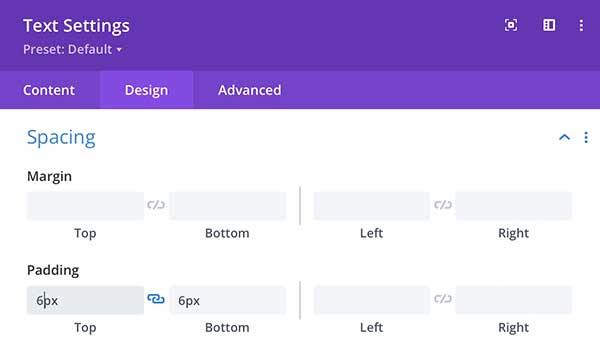
Almost forgot! When you set the border it goes all the way across the row. To fix that, we’ll set a width and center the Text box. Just click on sizing and set the Max-Width to 225px (or whatever you like), then set the Module Alignment to Center, like the image below. Lastly (before we get to the rest of the rollover functionality), let’s add a little padding to make it look more like a button. Just go to the Spacing section and set the Padding to 6px for the Top and Bottom, like in the second image below. You can leave everything else alone!
Step 4
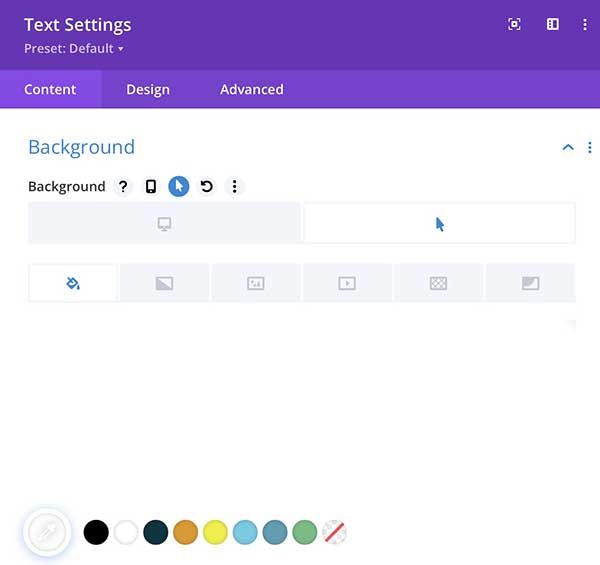
Almost there now! Open the Text Settings again, and under the Content tab, go to Background. Hover over the smaller “Background” type and then click the Hover icon (remember, it’s the arrow). Set it to solid white, like the image below.
Step 4 cont.
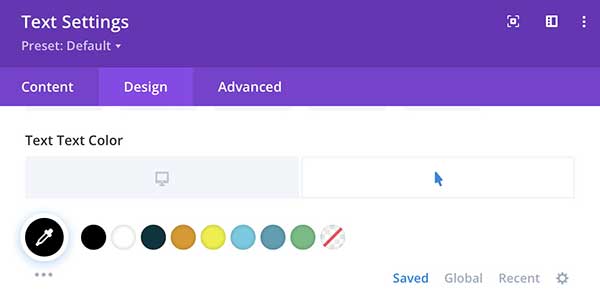
Next, go to the Design tab, and under the main text settings (first section) hover over the smaller “Text Text Color” type and then click the Hover icon. Set it to solid black, like the image below.
Step 4 cont.
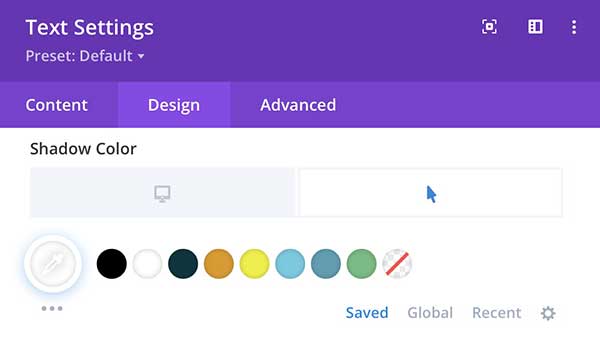
Now click on Box Shadow under Shadow Color, hover over the “Shadow Color” type, and click the hover icon, then set it to solid white, like the image below. Again, you can leave the rest of the shadow settings as they are.
Step 4 cont.
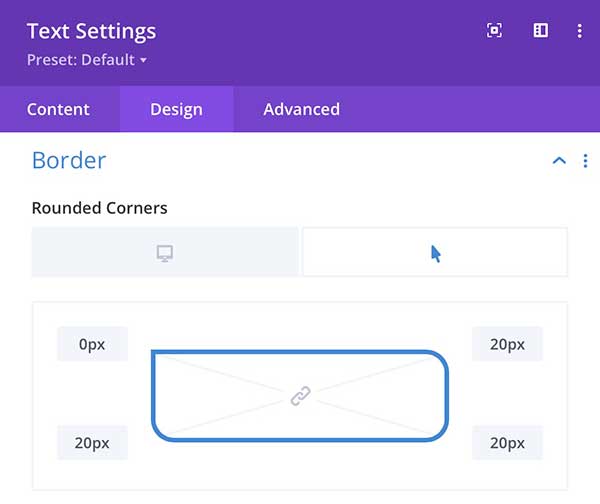
Next, let’s change the border on hover. Just go to the Border settings and hover over the “Rounded Corners” text and select the hover icon. Next click the little chain icon in the center of the 4 radii. Set the top right one to 0 (zero) and set the other three corners to 20px each, like in the image below.
Step 4 cont.
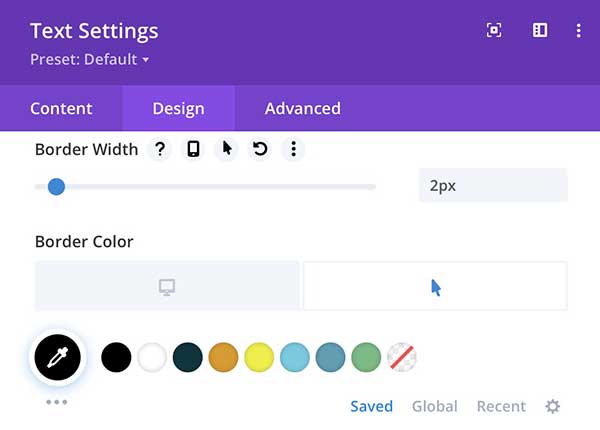
Lastly, let’s change the color of the border on hover. Stay in the Border settings and hover over the “Border Color” text and select the hover icon. Set the color to solid black like in the image below.
Conclusion
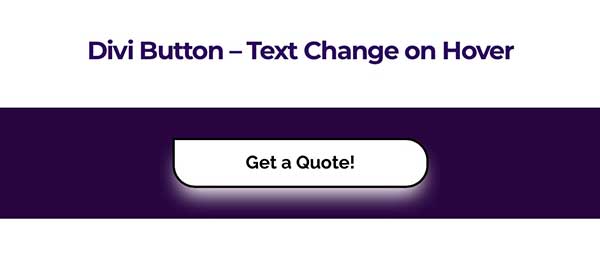
There you have it. Save everything and exit the Visual Builder and when you hover over the Start Today text, the text, border shape and color, background color, and the box shadow should all change, like the image below. If you have any questions, let me know in the comments below!

0 Comments